Sunday, November 28, 2010

QUICK CHRISTMAS CARDS

Happy Sunday Morning!  

I hope you all had a fabulous Thanksgiving with family and friends.  Our family's Turkey Day was very, very nice.  It was especially nice having Son No. 1, John, home from college for a few days.  He arrived late Tuesday night, and flew back last night.  Seemed like he was leaving as soon as he got here :o(  He'll be back in about 3 weeks for his long winter break.  Can't wait to have him home again.  And, as in typical CosmoGirl fashion, I took not a one picture throughout the whole T'giving prep, dinner, family visits, etc.  You know, sometimes I just don't feel like fusing with the camera.  I really wish someone else would play "photographer" for once!

I've been on Christmas decor mode for a couple weeks now.  I'm vowing to get all my decorating done by December 1st.  You see, I admittedly go a little overboard when it comes to Christmas.  I like to almost transform the entire house into a Christmas showcase.  I just love it!  Hubby thinks it's a bit much, but honestly, I don't care what he thinks ;o)

These first two cards I made multiples in an "assembly-line" manner.  
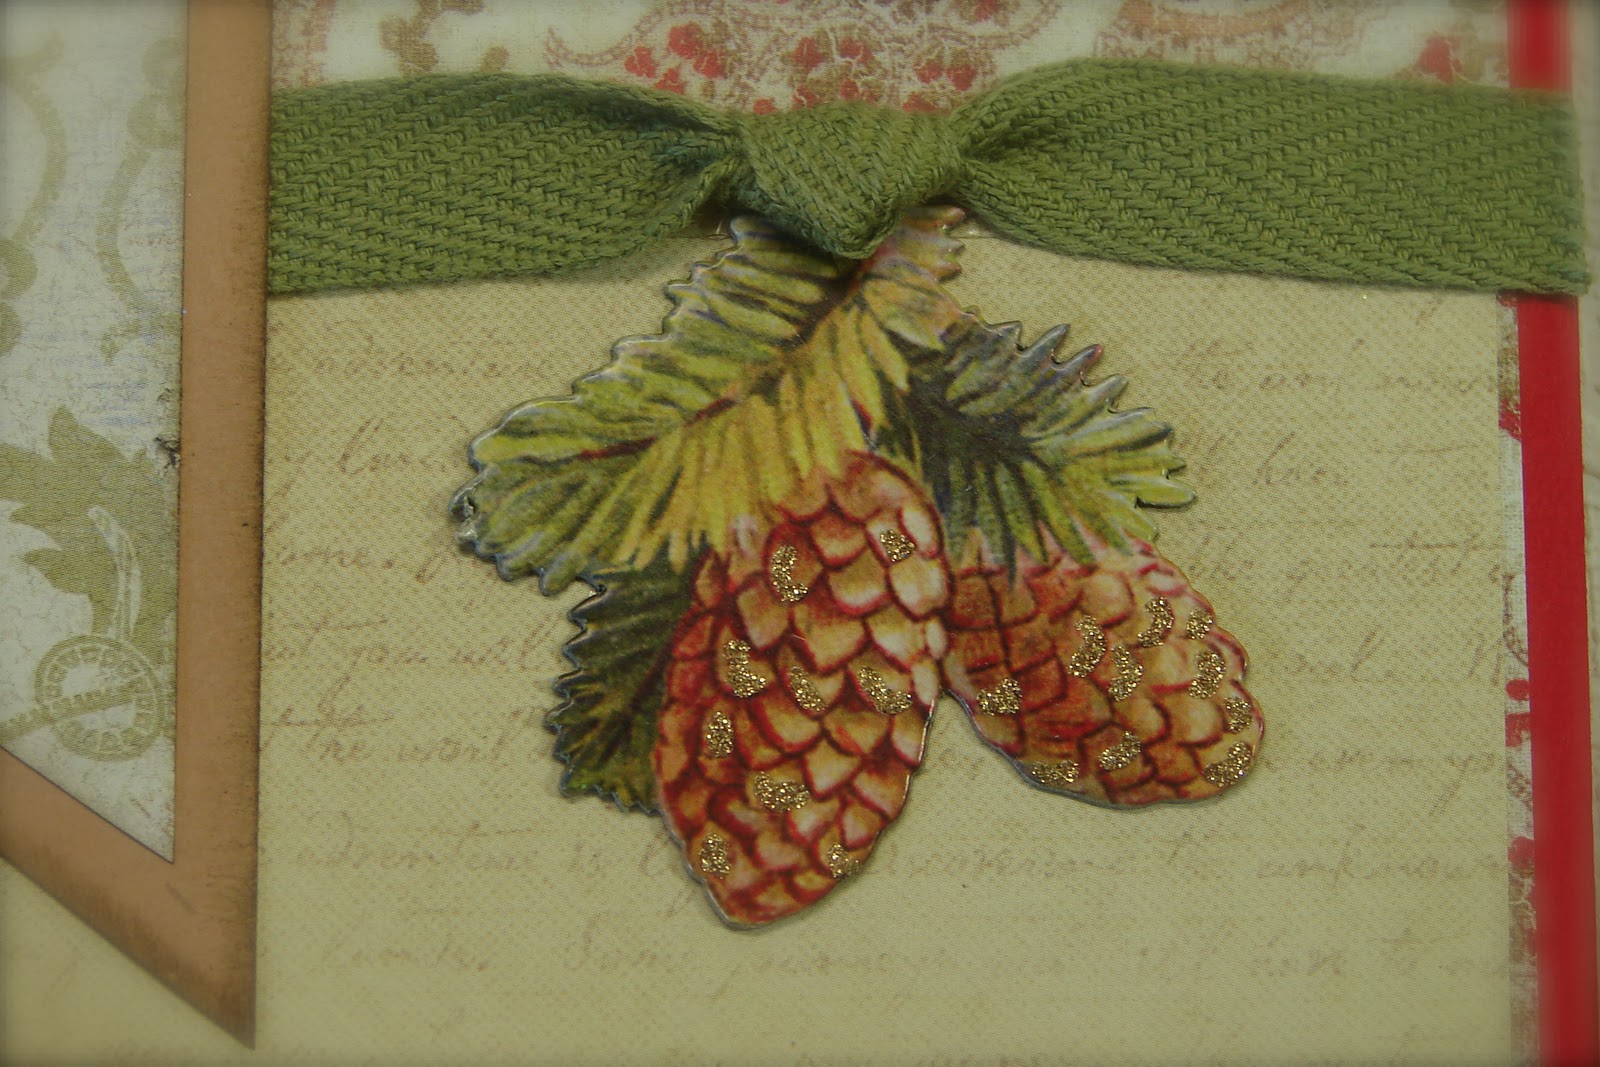
Click on the pics to see detail better.


Last weekend, a good friend hosted a few of us girls at her place near the beach for a girl's weekend away (you guessed it - no pictures!) of scrapbooking, crafting, relaxing, whatever. 
Thank you, Donna :o)!!!  
It was tons of girlie fun!  Like a big girl's sleepover.  


Last year I never got round to making OR sending Christmas cards.  
GASP!!!!  
I still can't believe I let that happen.  So I decided while at Donna's place, I'd work on Christmas cards for this year.  A whole day of creating, and into the wee hours of the next morning, produced almost enough cards for everyone on my card list.  


Since I'm always looking for new card ideas, I thought I'd share what I made.  Super easy and quick cards using some rubber stamps, pretty papers, trims, buttons, dimensional stickers and a little bling.

These next two cards were "one-of-a-kind" creations.


I'm off to finish up the last bit of the Christmas decorating.  Three trees down, two more to go!


Thanks for visiting! 
Leave a comment so I can get to know you.

Monday, November 22, 2010

EASY WALL ART ON THE CHEAP!

As some of you may remember, I've been on a marathon . . . a l-o-n-g marathon . . . redoing my master bedroom.  You'd think I was having new pieces of furniture made to order, and rich, delectable fabrics and textiles custom made into designer one-of-a kind window treatments and accessories.  Or maybe the time's been spent patiently waiting for a skilled artisian to complete a faux finishing or wall mural in the room.  


Alas, I can not blame the snail's pace of a redo on any of the above. Only on myself, and my laziness, and at times, empty wallet! LOL  
But, it's getting there! :o)  
Little by little!

I shared a snippet of the room a few months ago when I painted a few pieces {below} with that yummy paint color, Malted Milk, that I just adore.


Today, I'm sharing the back wall of the room ~ the wall that's seen as you walk through the bedroom door.  What I'm most excited about and it doesn't take much to get me excited sometimes is the "wall art" I created with re-painted frames found in my frame graveyard in the basement and scrapbook paper.  


I actually purchased this particular pack of matching papers at a convention this past summer specifically to use in my bedroom.  The colors in the patterns of these papers works perfectly coordinating with the blues, greens and browns I've chosen for the room.  


Oh, I know it's not a unique idea, and I know we've seen this done all over blogland.  Heck, I was inspired by Angie at Echoes of Laughter for this very project.  Even though it's not original, I'm just so tickled with how the whole wall "vignette" turned out, I just had to share.  


So for practically pennies, I was able to fill a "hole" on the wall with something quite appealing.  

I snagged this super-cute wall hanger,
door knob thingy at Pier 1 on clearance.
New window treatments were finally sewn and mounted, but I'm not entirely thrilled with how they turned out.  I may be adding some large covered buttons or some trim to jazz them up a bit.  You'll have to wait for their big debut.


There's still quite a bit left to do.  The bed-side tables and a chest at the foot of the bed are going to get a fresh coat of Malted Milk paint. A few more walls need to be addressed, a couple pillow covers still to be sewn, and the room will finally be done.  Then, I'll share it's big total reveal with before and after snaps.  But, as in my oh-so-not speedy fashion, those final projects will have to wait until after the Holidays. ;o)


Thanks for visiting! 
Leave a comment so I can get to know you.

Wednesday, November 17, 2010

MY SWAP GOODIES

As promised, I'm sharing all the lovely goodies Nerina sent me.  She had everything individually and neatly wrapped in tissue.  I just kept pulling little wrapped treasures, one after the other, out the box.  It was like Christmas!

She sent such a fabulous assortment of items. 
(So sorry for the shadowy pics.  Blasted daylight savings!  By the time I get home from work, unwind, make dinner and clean up, it's dark.  No natural light.  I thought a strategically placed lamp might be better than the flash ~ not so sure now!)

Items for crafting ~


Glitzy, sparkly ornaments and a cute little plaque ~


Primitive, country ornaments ~


Fun sticker tags ~


Notice the cute "cosmo" tag???? ;o)


So many cute, fun things!  Unfortunately, there were two casualties :o(  Even though Nerina took such good care to wrap the breakables in bubble wrap and tissue, a few still perished.  

Thank you so much, Nerina, for sending such a great assortment of goodies.  You really took the time to put together a package filled with all the things that make me smile :o)

And a big thanks to Marsha for coordinating the swap.  She's been a great communicator and very caring, making sure that all her participants had a good time.    I really appreciate the time you spent on this swap.


Thanks for visiting! 
 Leave a comment so I can get to know you.

Tuesday, November 16, 2010

CHRISTMAS ORNAMENT SWAP

Wanted to share a few ornaments I sent out to my partner in Marsha's (Sassy Mini Dolls) ornament exchange.  


I had sooo much fun making these ornaments for my swap partner, Nerina.  Creating these ornaments really helped get the Christmas prep juices flowing.  

wooden ornament decoupaged with vintage santa image.


wooden ornament packaged inside CD mailer.
Nerina and I corresponded a bit to get to know one another, and to find out each other's likes and styles. In one of the emails, she mentioned she was finding herself really drawn this year to vintage-looking, sparkly, old-fashioned ornaments and Christmas decor.  

simple star ornament jazzed up with paper pinwheel, vintage image, bling and glitter


a sweet phrase printed on cardstock edged in glitter

this little guy was inspired by one i saw on web somewhere last year.
can't remember where.  isn't he adorable?


In turn, Nerina sent a huge box of wonderful goodies to me.  Several styles of ornaments, items for creating ornaments and crafty projects, all kinds of cool things.  I plan on sharing pics of my goodies from her tomorrow.  Didn't want to drown you all in tons of snaps tonight!


this was actually a store-bought ornament.  i cheated just a bit ;o)


another cheat store bought ornament. the front.

the back.

On December 1st, Marsha will set up a linky party so we can all go and visit each other, and see what lovely ornaments others in the swap exchanged.  She's also creating a virtual tree that will be adorned with all our ornaments.  Can't wait to see that!

Check back tomorrow so I can share all the great goodies Nerina sent to me!


Thanks for visiting! 
Leave a comment so I can get to know you.

Sunday, November 14, 2010

FELT LEAF GARLAND - MY PB KNOCK-OFF

Well, I'm back. I knew I couldn't stay away for two weeks.  I will say, though, that I did need this past week's break from blogging.  As much as I enjoy blogging and reading my favorite blogs, having one less thing to think about was really needed.  


I did manage to get some things done.  Of course, not as much as I really wanted.  And I did knock out a couple projects.  One project being my version of
Pottery Barn's Felt Leaf Garland.  

Pottery Barn Kids

You know when you see something and you just have to have it, or just have to make it?  That's how I felt when I saw this felt leaf garland sold at PB's Kid's site.  

Pottery Barn Kids

But with a price tag of $50, I knew for sure I wouldn't purchasing the real article.  
Fifty bucks???!!!  I don't think so.


So, I broke out my stash of Kunin Felt and got busy.  Kunin Felt is a wonderful, high-quality, washable felt (you can order here).  When I worked in a quilt shop eons ago, we sold it by the yard.  It was used a lot in craft and doll patterns.  


I found some leaf templates on the net I liked, printed them out and traced them to the paper side of fusible web.  The fusible web is ironed onto the felt, and then the leaf shape is cut out.  Once the paper backing is peeled off, I then ironed the cut shape to another piece of felt to create the layered leaves.  Of course, the leaves with cut outs were made before they were layered and ironed.  


The cost of this project . . . zero, zip . . . just my time, as I had all the materials on hand.  It's not exactly like the Pottery Barn garland, but I'm super-pleased with the results.


Thanks for visiting! 
Leave a comment so I can get to know you.
Related Posts with Thumbnails