Sunday, October 31, 2010

TRICK OR TREAT!


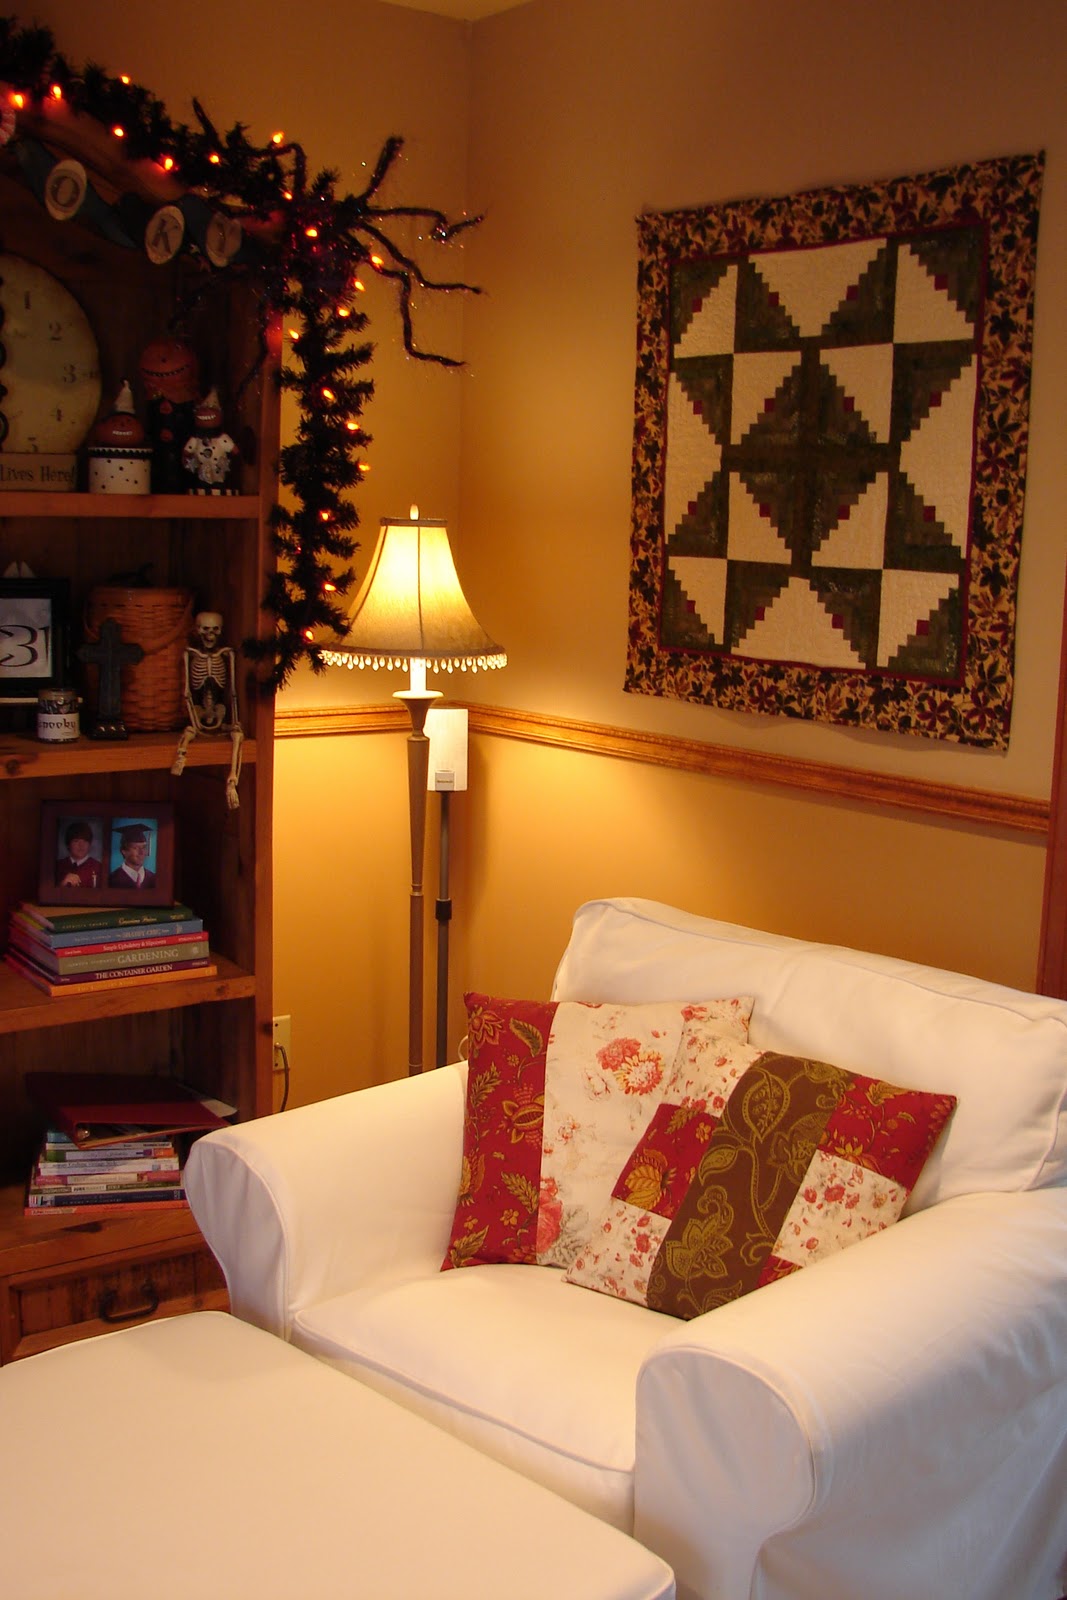
This year I joined in on some grown-up Trick or Treating hosted by Christine at

What a fun swap this was!  We were to send two "treats" and one "trick" to Christine.  Two items were to be handmade, one could be store bought {I choose to make all three}.  Christine asked that we not label our pieces with our names, keeping them anonymous, only labeling which two were the "treats" and which one was the "trick".  Once she received everyone's goodies, she randomly put together two of the treats and one trick per person and sent them back out.

We were to take pictures of the treats and tricks we were sending out so we could post them on our blogs today as well.  Silly me, I totally forgot to take pictures of what I made,  so Christine kindly took a few snaps of my items when she received them.  But when I downloaded them from Christine's email, and tried to upload them here, I kept getting a "server refused" message.  Anyone know what that's about?


Now, here's where the fun starts.  Once we all received back our tricks and treats, we had to wait until today, All Hallow's Eve, to post pics of the ghoulish goodies we received.  Then, we go to Christine's blog where she has all the participant's links posted and we visit each other's blogs, "Trick or Treating", seeing who received the items we sent out.  Pretty neat, huh?!

I received some really great things!  I was like a kid on Christmas morning when my box arrived.  Pulling each adorable little goodie out . . . oooo'ing and ahhh'ing over each one.

And if coordinating, distributing and hostessing this swap wasn't enough, Christine included a gorgeous Halloween vintage-image pendant necklace as a thank-you for participating.  Oh, Christine!  It's so adorable.  I've loved wearing it.  And it's us who are offering you a big thank-you for putting this swap together.


Thanks for visiting! 
Leave a comment so I can get to know you.

Wednesday, October 27, 2010

FRESH PAINT

I can think of almost nothing else that spruces up a room like fresh paint on the walls.


A few posts back, I mentioned we'd been painting pretty much the whole first floor.  
{In case you been wondering where the heck I've been the past week, this is what I've been up to!} 
After having some drywall repair done on many of our walls on the first floor, the painting started up again.  We had the same type of work done on the second floor this summer that I blogged about here.  And after two weeks of work on the first floor, I finally finished the other day.  

YAY!!! 


We've had overcast, rainy days the past few days or more, and I couldn't get real good pics of the color on the walls.  I'm sooo thrilled with the new look.  The colors are a little darker then what we had previously, and I used a satin finish instead of the eggshell I'd used before.  And, again, I used that new paint from Lowe's - the Valspar Hi-Def.  

The color on above the chair rail is called Churchill Hotel Maple.  It's in the "National Trust for Historic Preservation" line.


  The color below the chair rail is Mark Twain's House Tan, from the same line.  


Although painting can be a bit laborious, time consuming, messy, it does help prompt a good, deep cleaning.  Not only are the walls and ceilings clean and smooth and spotless, but all the baseboards and floors behind and underneath furniture get a good scrubbing as well.  Hey, might as well take advantage of the furniture being all shoved to the center of room!


I'm so glad to have all this painting done, especially in time for the Holidays.  The only room not done yet is our master bathroom.  That room's getting a major overhaul ~ new tile floor, new tile surround for the tub, new countertop and sinks, etc.  So far, not much has been done in there.  A few pieces of cement board have been laid around the tub deck.  The list to do in that room is almost overwhelming.


Now I can concentrate on Christmas.  I now it may sound nuts . . . well, maybe not to a lot of you.  Every year I wish I'd started just a week or two earlier in my Christmas preparations.  This year I'm doing it.  I have plans for many handmade, hand sewn, hand crafted gifts, and I need to start now.  I may even start pulling out some of the Christmas trees and decorations November 1st!!!

With the painting done, something else to get busy on are the last few details on the master bedroom redo.  Almost there! Just a few more little odds and ends to finish up, then I can share the big reveal!  It won't be too fantastical, but it's coming along nicely, and a big change from how the room has looked for the past 16 years!


Thanks for visiting! 
Leave a comment so I can get to know you.

Monday, October 18, 2010

ALL DAY APPLE BUTTER


When searching the net for a recipe for Apple Butter the other day, I came across the recipe below at one of my fave recipe sites, All Recipes.  What I like most about this site, besides there are tons and tons of recipes for just about anything, are the comments you can read for each recipe.  Other cooks listing their successes or failures with the recipe.  Their slight changes or additions or deletions to recipes.  
It's a great resource!

Anyway, I was quite intrigued at this recipe as it has the apple butter cooking in a slow cooker.  


Yes . . . crock pot!
Actually, I stumbled upon quite a few apple butter recipes that use the 
handy-dandy crock pot.  


The whole process was super-simple.  The hardest, or most time consuming, step, of course, was peeling, coring and chopping the apples.  Not so bad for me, though.  I actually enjoy chopping stuff.  
I find it therapeutic :o)


The apple butter turned out so thick, and rich, and creamy.  And the color!  A dark, dark chocolatey caramel ambery color.  And it tastes pretty darn good, too!


A lot of the cooks' comments on this particular recipe stated they used less sugar than the recipe called for.  I'm sure a lot of how much sugar is needed depends on the type apple you use.  I would imagine a more tart apple, like Granny Smith, might need more sugar, than, say, a Gala like I used.  It seemed like an awful lot of sugar to me as well.  So, I followed the advice of a lot of the cooks and cut the sugar almost in half. 


The recipe:

5-1/2 pounds apples - peeled, cored and finely chopped
4 cups of sugar (I used 2-1/2 cups)
2 teaspoons ground cinnamon
1/4 teaspoon ground cloves
1/4 teaspoon salt
(I also added 1/8 tsp of allspice and 1/8 tsp of ginger)


  1. Place the apples in a slow cooker.  In a medium bowl, mix sugar and spices.  Pour mixture over the apples and mix well.
  2. Cover and cook on high 1 hour.
  3. Reduce heat to low and cook 9 to 11 hours (I let my apples cook a full 24 hours.), stirring occasionally until the mixture is thickened and dark brown.
  4. Uncover and continue cooking on low 1 hour.  Stir with a whisk, if desired, to increase smoothness.  (I used my immersion blender to really blend the mixture super smooth.)
  5. Spoon the mixture into sterile containers, cover and refrigerate or freeze.  A water bath can be done for 10 minutes to seal the jars.


If you're an apple butter lover, I'm sure you will enjoy this recipe.  Not only for it's yummy tastiness, but it's super simple preparation.  Not to mention your house will smell of simmering apples and cinnamon for a day! 


Thanks for visiting!
Leave a comment so I can get to know you.

Friday, October 15, 2010

QUICK PUMPKIN PROJECT - REWIND

I wanted to revisit and reshare this project from last year with you all.  It was so super-simple and quick.  An alternative to traditional orange pumpkin projects we normally go for.  

Hope you get the chance to make one of your own.


I used an inexpensive plastic pumpkin from the craft store.


I found a font I liked, enlarged it and printed it out.


By rubbing the back of the paper with a pencil, you're able to transfer the design by tracing the image onto the pumpkin from front side of the paper. 


After I traced the letters, I used a fine paint brush and black acrylic paint and filled in the letters as best as my unsteady hands and poor eyesight will allow. I also painted the stem black with some acrylic paint.


I took some faux mum leaves and spray painted them black. How much do we love spray paint? I just don't know what we'd all do without spray paint. I actually have never spray painted faux flowers, leaves, (I don't want to say silk, because I know for sure they're not silk.), but it really worked very well.


Strips of black tulle tied in a knot and hot glued to the top of the pumpkin add a nice touch before the leaves are glued on.


After the leaves were glued on, I added some blingy jewels to the swirls in the letters.


Thanks for visiting! 
Leave a comment so I can get to know you.

Tuesday, October 12, 2010

OHHH . . . LIGHTEN UP!!!

Well, that's just what I've been doing.  A little bit at a time around here lately.

I've mentioned a few times in past posts how there's just too much wood tone all over our house.  Hardwood floors . . . wood stained moldings and window frames . . . wood stained kitchen cabinets . . . lots of wood toned furniture.  Sometimes I feel like I live in a tree!  I love, love, love my wood floors, but the rest of all this wood can go.  

Adios!  

Sayonara!  

I wish it gone.  

And hopefully a lot of it will be eventually.  I have big plans to change some things around here, but as is the case with most of my home improvement/transformation projects, it's slow going.  

I have tackled a few projects lately.  And I must say, I'm quite pleased with the results.  First, I need to talk about the paint I've been using.  I know lots and lots of bloggers share their painted furniture projects through pictorials or step-by-step tutorials, and they all have their own favorite paint.  The paint I've been using is Lowe's Valspar Floor and Porch paint.  


May sound strange that I'm using floor and porch paint, but the paint lady at Lowe's recommended it.  She explained it's extremely durable ~ makes sense if it's for floors and porches ~ and it comes in a latex satin finish {easy clean-up ;o)!}, and it can be custom tinted.  I chose a color called Malted Milk, which is a yummy creamy shade of off-white.  Not quite white, but not an ivory.  
Milky. 

All the pieces were prepared by lightly sanding with a sanding block, and painted with a coat or two of Zinsser Cover Stain and Primer paint.  


Great stuff.  
No need at all for stripping and sanding to the bare wood.  
Easy Peasy!

So, I've been busy painting my family room end tables.

Before


After


And the custom-made drapery shelf above my slider.

Before

After

More After


The mirror in the master bedroom got a new look.

Before


During


After

More After

As did a shelf I've had for years.  This carved shelf made it's debut in our first house over 20 years ago.  Looks loads better with it's new facelift, don't you think?

Before

After

More After
I'm planning on painting a few more pieces in the master bedroom as part of the snail-paced redecorating I'm doing in there.  I'm so done with all the "matchy~matchy" furniture.

So, if I'm absent for a few days or more, you know where I'll be . . . out in my garage painting and painting and painting . . .  

Next on the list, my kitchen table and chairs, and ultimately my kitchen cabinets.  
Now, that's the scary project!


Thanks for visiting! 
Leave a comment so I can get to know you.
Related Posts with Thumbnails